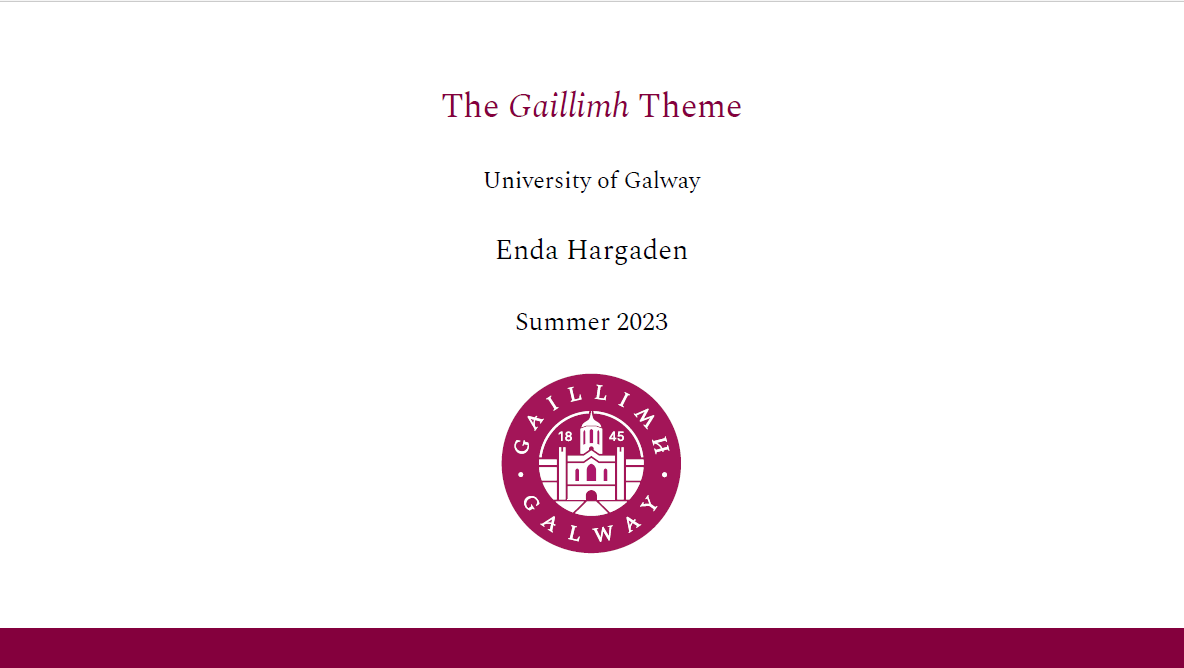
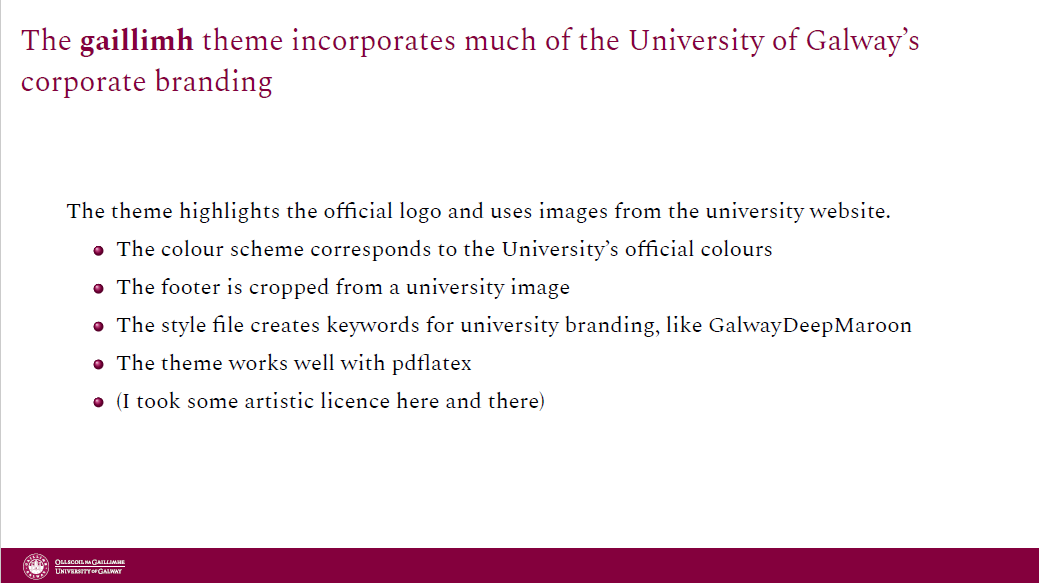
The university formerly known as NUI Galway (and before that, UCG) rebranded as University of Galway last year.

This post outlines how you can make beamer slides to match the university branding. The theme is called Gaillimh after the name of the city in the Irish language.

The theme should compile if you use pdflatex. However, full implementation requires you to use xelatex. This is because the official University branding is very clear that the font of preference is Spectral. This is a lovely font, freely available from Google Fonts, and you can even download it HERE, but pdflatex won’t let you use your own fonts. So if you want to use be very consistent with the branding and use Spectral, you will need to compile your document with xelatex.

An example PDF of the Gaillimh theme is viewable HERE. I include a couple of screenshots below.

You can download all the files you need to install and use the theme in one zip-file HERE.

//

University College Dublin has an excellent, professionally-crafted visual identity. Credit where it’s due, the branding is distinctive and coherent.

But there isn’t a beamer theme. UCD Marketing have Powerpoints to beat the band, but I (and at least a dozen other people worldwide) prefer generating slidedecks in TeX.

So I have made a beamer theme to replicate the official UCD branding. There is a norm of naming beamer themes after university locations such as AnnArbor or Berkeley. The UCD beamer theme is thus named Belfield. Though the UCD brand is very well known on our island, this little bit of research infrastructure can help you represent the university internationally.

An example PDF of the Belfield theme is viewable HERE. I include a couple of screenshots below.

You can download all the files you need to install and use the theme in one zip-file HERE.

Alternatively you can download them individually. Instructions are available from the README.txt. Don’t skip the readme file, it helps with the installation. 

//

I’ve posted before about problems with line widths when exporting tables from Stata. Here is one trick to solve having an excessively wide addnote at the bottom of the table.

Ensuring you have pre-loaded the booktabs package, add the following line to the header of your LaTeX file:

\newcommand{\tabnotes}[2]{\bottomrule \multicolumn{#1}{@{}p{0.70\linewidth}@{}}{\footnotesize #2 }\end{tabular}\end{table}}

This creates a new command (called tabnotes) that takes two arguments: a number of columns, and text. An example is \tabnotes{3}{Hi there} — this will add a note at the bottom of your table, spread over 3 columns of your table, and it will say “Hi there”. If your table has seven columns, change the first argument to 7 instead of 3. You can obviously change what the text says, too. The important thing is that the text will automatically wrap if it is wider than 70% of the width of your text. You can change to any percent you wish by altering the 0.7\linewidth portion of the code above.

An important fact is that you must include \tabnotes inside esttab’s postfoot() option. For example, your might use:

esttab myresult using tab.tex, booktabs replace postfoot("\tabnotes{3}{Hello there, I hope this helps you.}")

Please note that is all one line, your browser likely splits it over several lines.

//
Scroll to Top